
Fix it Yourself
Learn More about How - On This Page
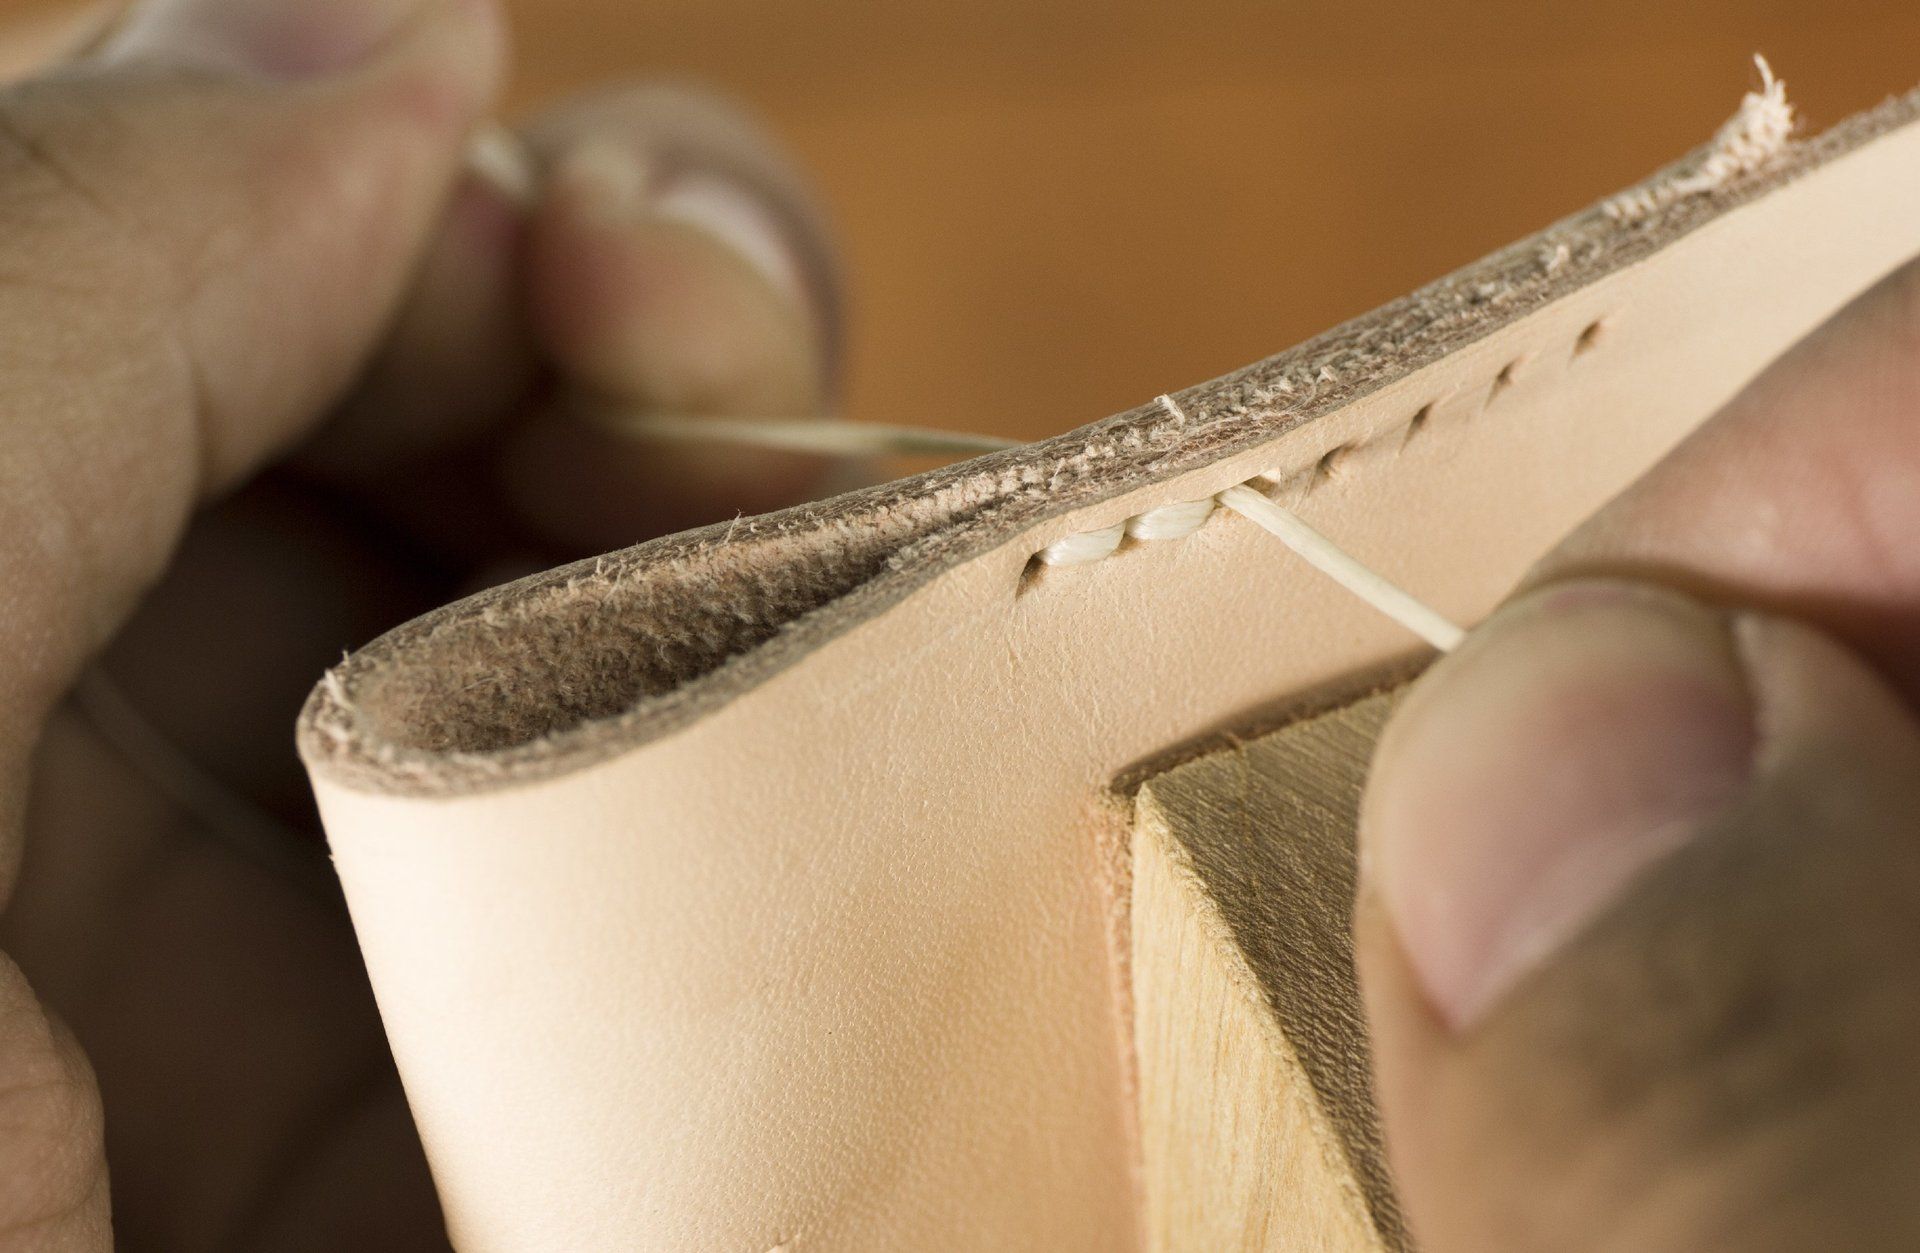
It's Bust - How do you fix it yourself?
An everyday problem that can be fixed
If the main heel block is shaky or has already separated from the sole of the shoe, don't panic you can probably fix it yourself.
- Locate the screws: Look inside the shoe at the heel area. You will need to peel back the insole to expose the screws.
- Either tighten them or replace the screws: Use a screwdriver with a firm grip to tighten the existing screws. If they are stripped, replace them with similar-sized wood screws. Possibly the screw holes are damaged. Clean them out then pack them with either toothpicks glued together or a small dowel.
- Glue: Add a strong adhesive (like Loctite 60 Second) between the heel and the sole for extra security and don't forget to glue the insole back on.
What tools do you need? A good quality screw driver, a small narrow blade to clean the screw hole and the glue. Leave the glue to set for at least 24 hours. Do NOT walk on the heel, unless you are completely satisfied the repair has correctly bonded the heel and shoe.
SOMETIMES THE PROBLEM CAN BE A BIT MORE DIFFICULT
First of all, let's have a look at the problem, what can be done
01
Safety First
Golden Rules.
- If electrical UNPLUG the device first!
- If water, turn off at the mains
- Always place the device on a dry, firm, clean surface.
- Never attempt repairs without the proper tools.
02
Tool Checklist
Look at the picture below, it gives you a good idea of the type of tools a DIYer would have.
Follow this
link* for a
get you out of trouble multi purpose toolkit by STANLEY
for less than £20. Next day delivery options UK
03
Problem Diagnosis
Lets have a look at some common repairs issues:
- Power Issues
- Mechanical Failures
- Leaks and blocked drains
- Jamming doors
- Broken locks
- Decorative damage
Decide if these repairs have a simple fault such as turning the power back on, or are they more complex.
04
When to Quit
Not every repair can be fixed at home. It is a fact that the repair may prove too complex, or could be dangerous a few examples:
- Working with glass
- Working at a height
- Working with electricity
- Gas or Propane equipment is an absolute RED FLAG
- Repairs to imported products - often no spares or replacement parts are available

Most DIYers would agree this collection of tools is what is needed
If you need to build up a comprehensive set of tools follow this link
How to change a light bulb
Tools Required
Stepladder if necessary
Wait until bulb is cool
Twist to undo bayonet or turn anticlockwise if screw
Replace with LED Equivilent
Check fitting: is it an E27, E14
or B22, B15, G4 or Capsule GU10 or GU5.3
How to replace a fuse
Tools Required
Philips Screwdriver
Combination Pliers
Replacement fuse
Remove retaining screw
Remove cap to access fuse
Check for correct amperage
Check fuse for burn marks
You MUST replace fuse
with the same amperage
How to repair a Leaking Tap
Tools Required
Adjustable Spanner
Or a Set of Spanners
Replacement Rubber Washer
Turn off water at mains
Use tools to
unscrew tap head
Replace washer
Reassemble Tap
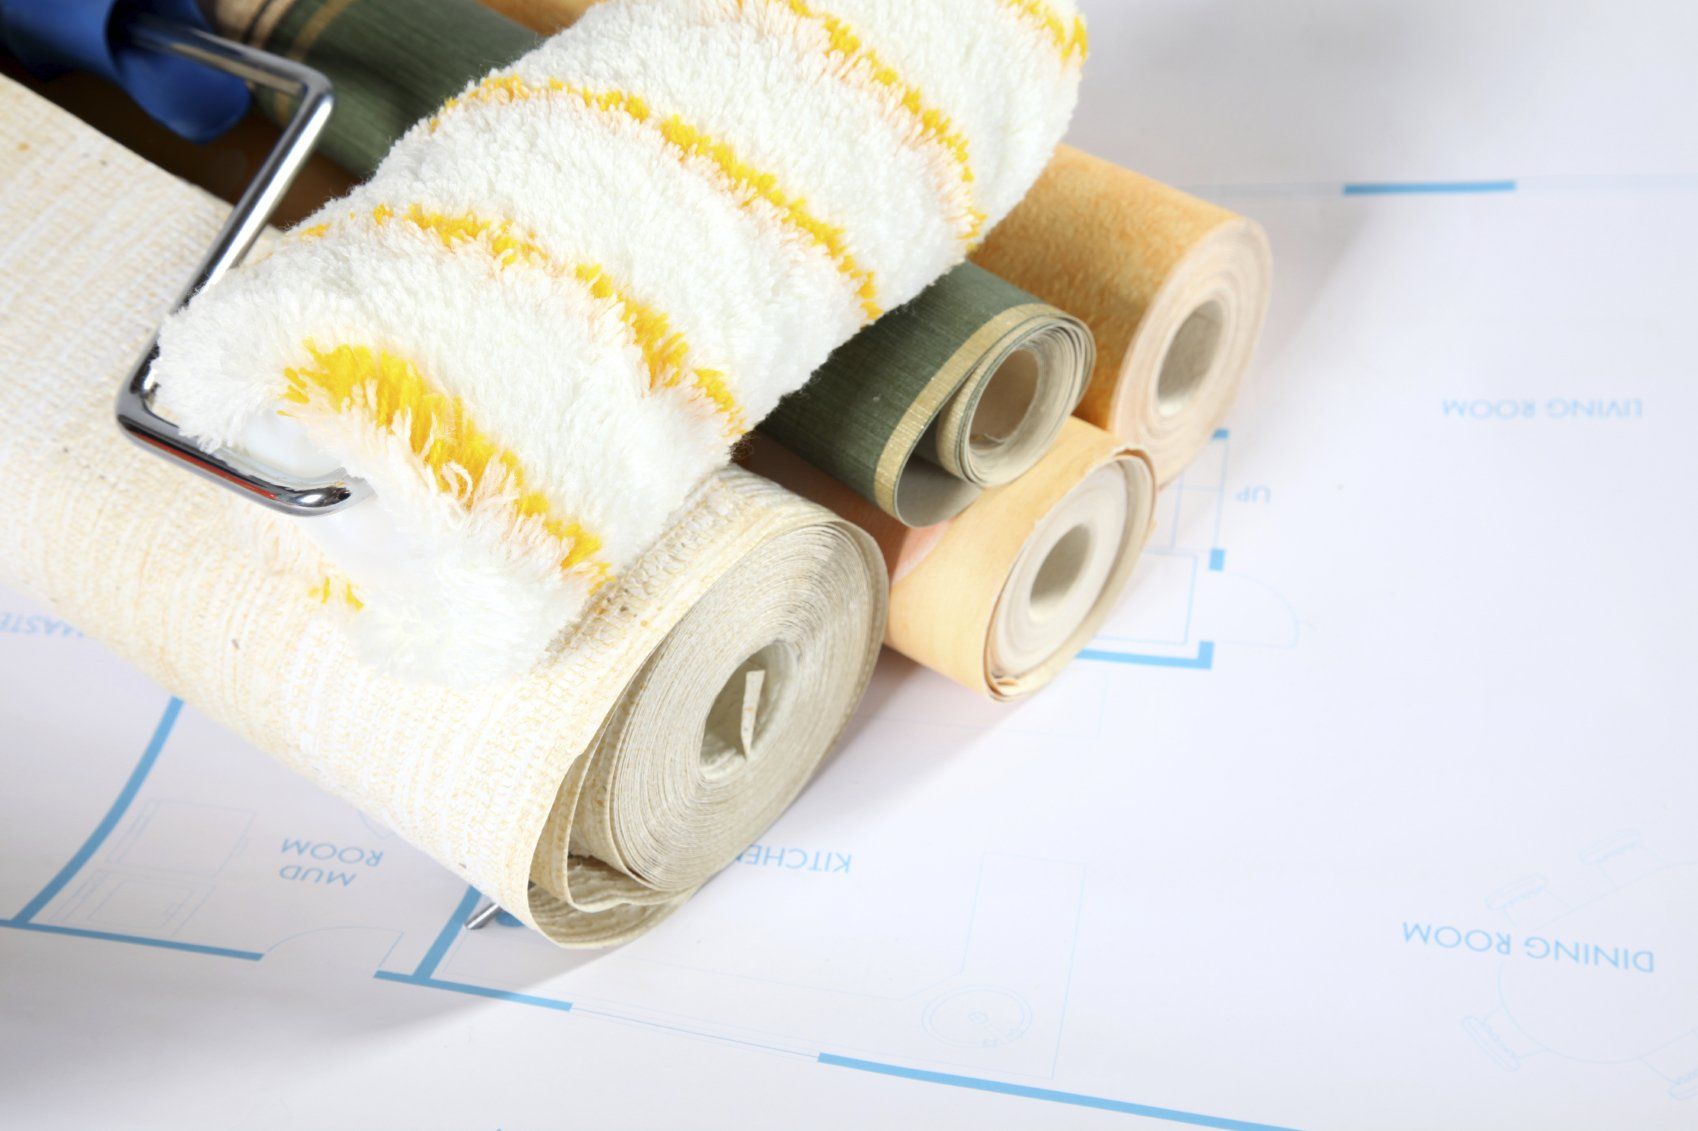
How to touch up Paint
Tools Required
Paint Brushes
Brush Cleaner
Disposable Wipes
Correct Paint, either
Emulsion Paint
Oil Paint
Varnish
Spray Paint
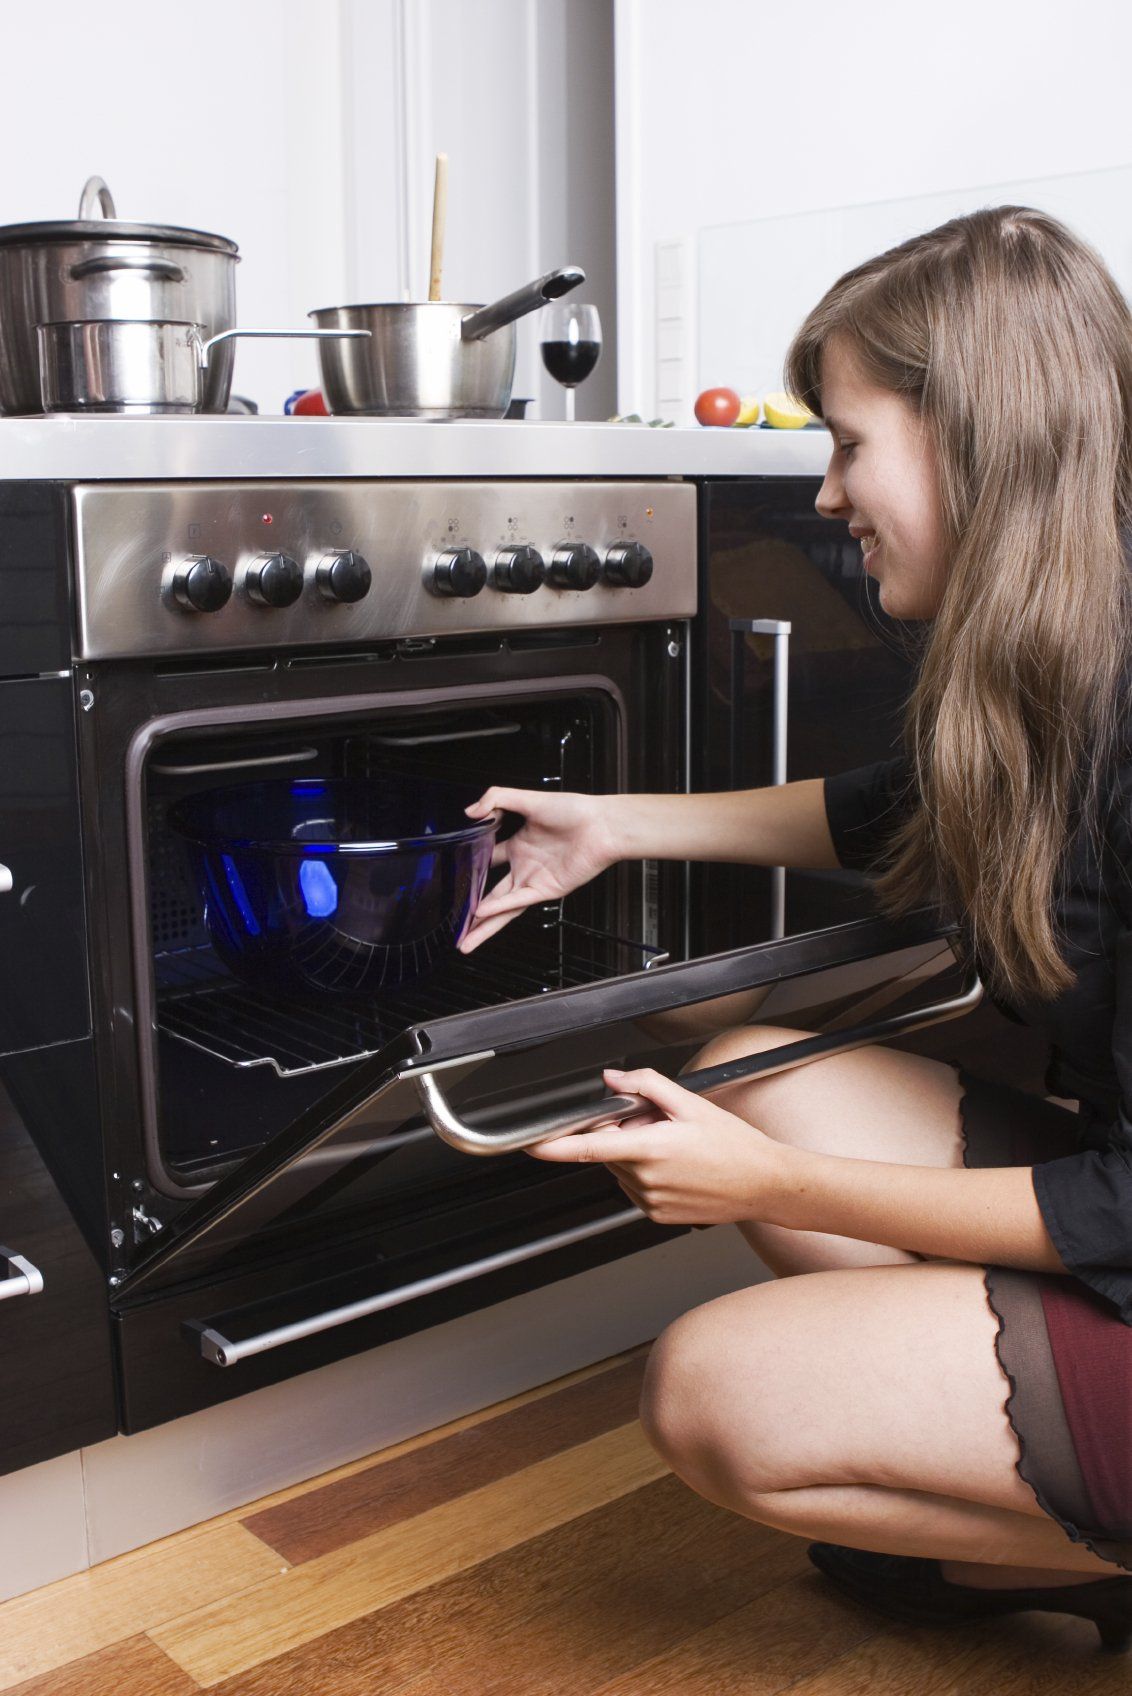
Oven Seals
How to Replace an Oven Door Seal
Replacing an oven door seal involves removing the old gasket (often held by corner clips or a slot-in groove), cleaning the channel, and installing the new seal by stretching it into place, usually starting at the top corners.
Ensure the appliance is off, cooled, and you must have the correct manufacturer-specific seal.
How to Replace a
Washing Machine Door Seal
Replacing a washing machine door seal involves removing the top lid, detergent drawer, and front panel to access the inner drum. Remove the outer and inner wire retaining bands, pull off the old seal, install the new one with drainage holes at the bottom, and secure both bands. Lubricating the new seal helps with installation.
Ensure the electricity is turned off on the appliance and that the water supply to the appliance is closed. You
must
ensure you have the correct manufacturer-specific seal.
General repairs
Essential Beginner Tool Kit
- Screwdriver Set (Phillips and flathead)
- Claw Hammer
- Pliers (Needle-nose and combination)
- Putty Knife
- Adjustable Wrench
- Tape Measures small 3m and large 6m
- Set of Paint Brushes 25mm to 150mm
- Paint Roller and Tray
- Pasting Table, Large Scissors
- Wallpaper Smoothing Tool Set
- Safety Glasses, Face Shield
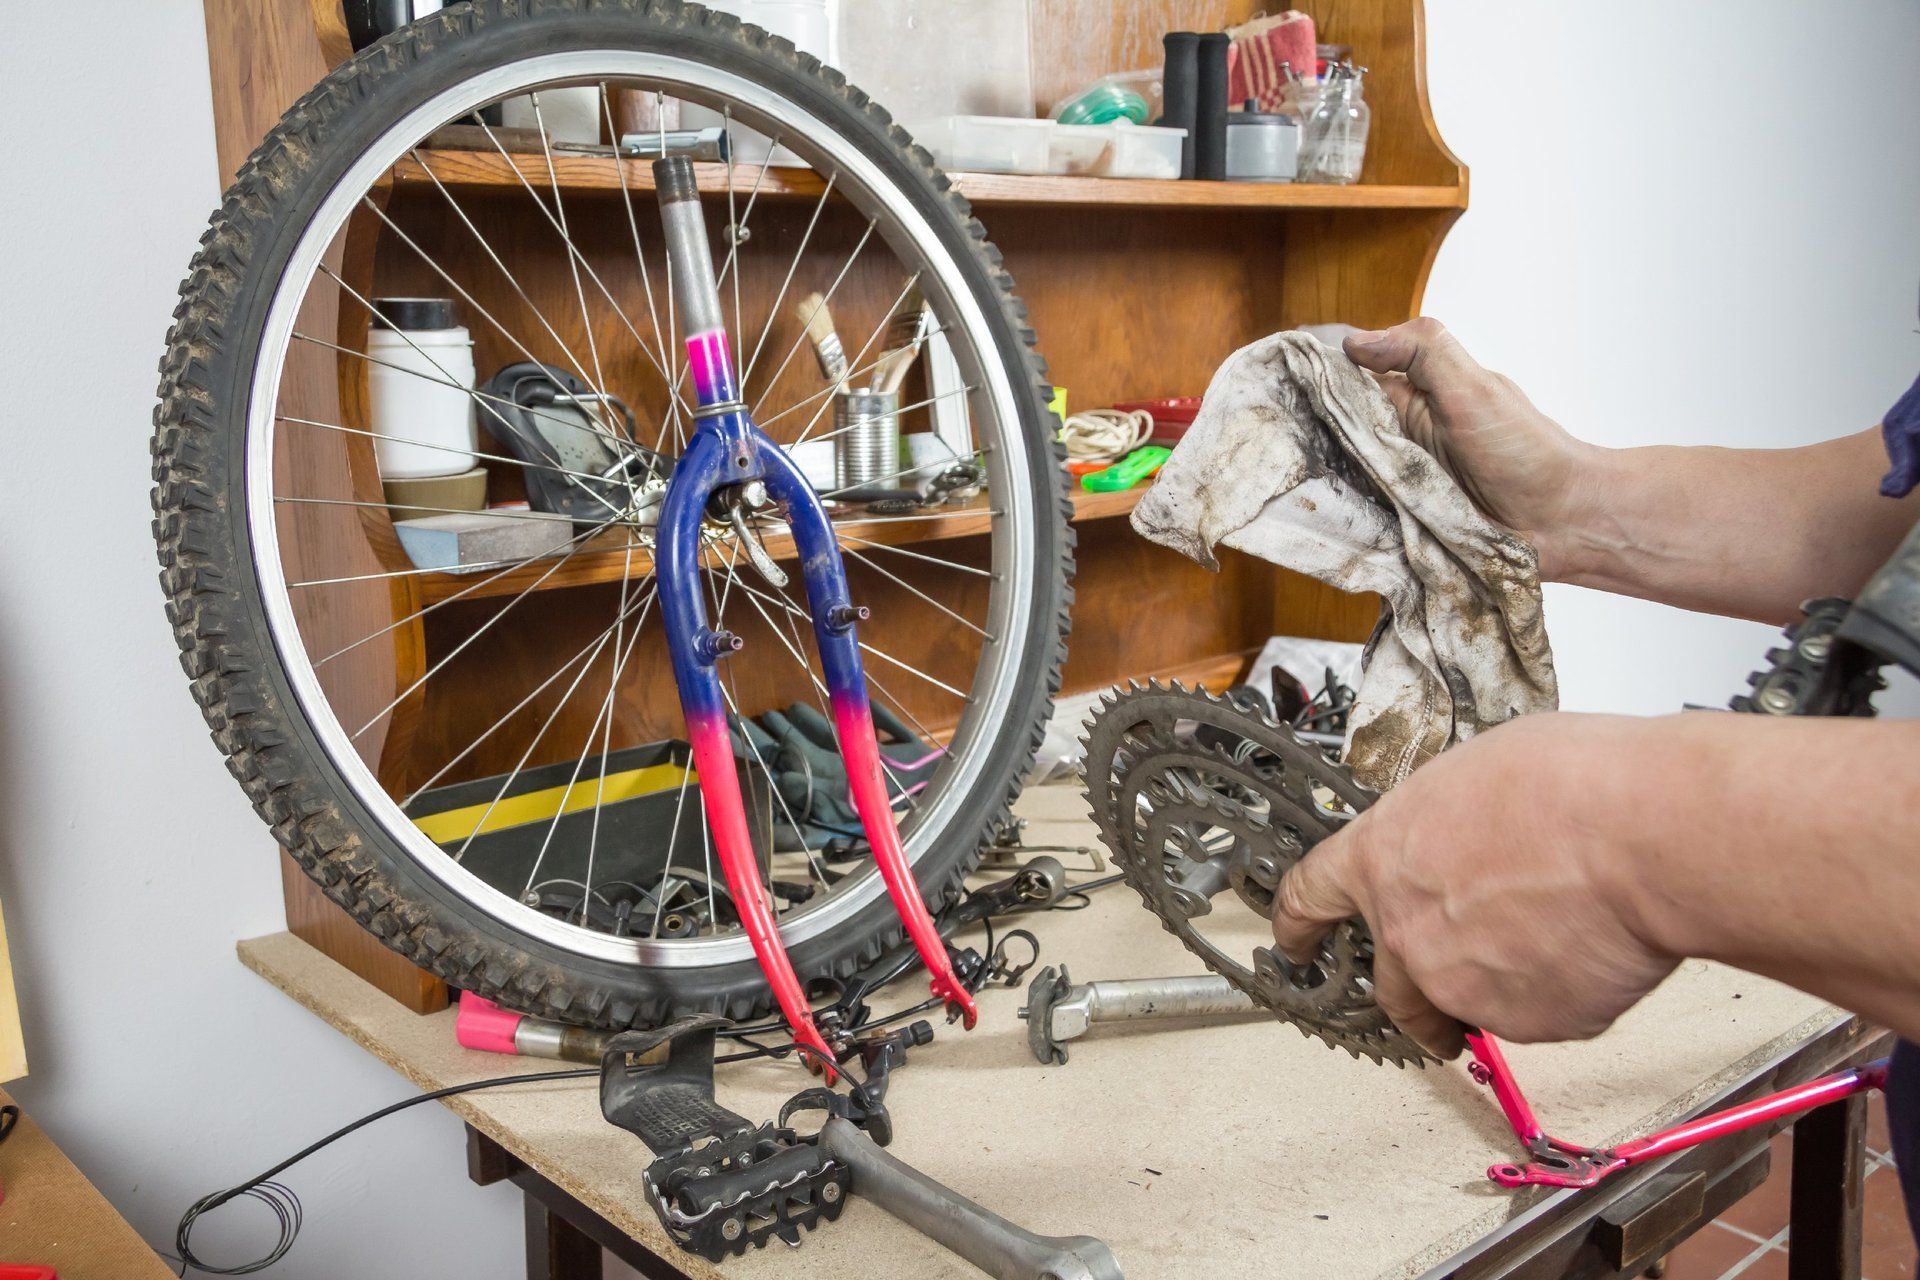
Repair Around the House
The more repairs you can do, the better you will feel and that will help you when the next repair job occurs.
Of course repairs happen at the most inconvenient times, the best advice, is be prepared by having a collection of tools that do the job. In most cases you won't need a huge collection, just the right ones.
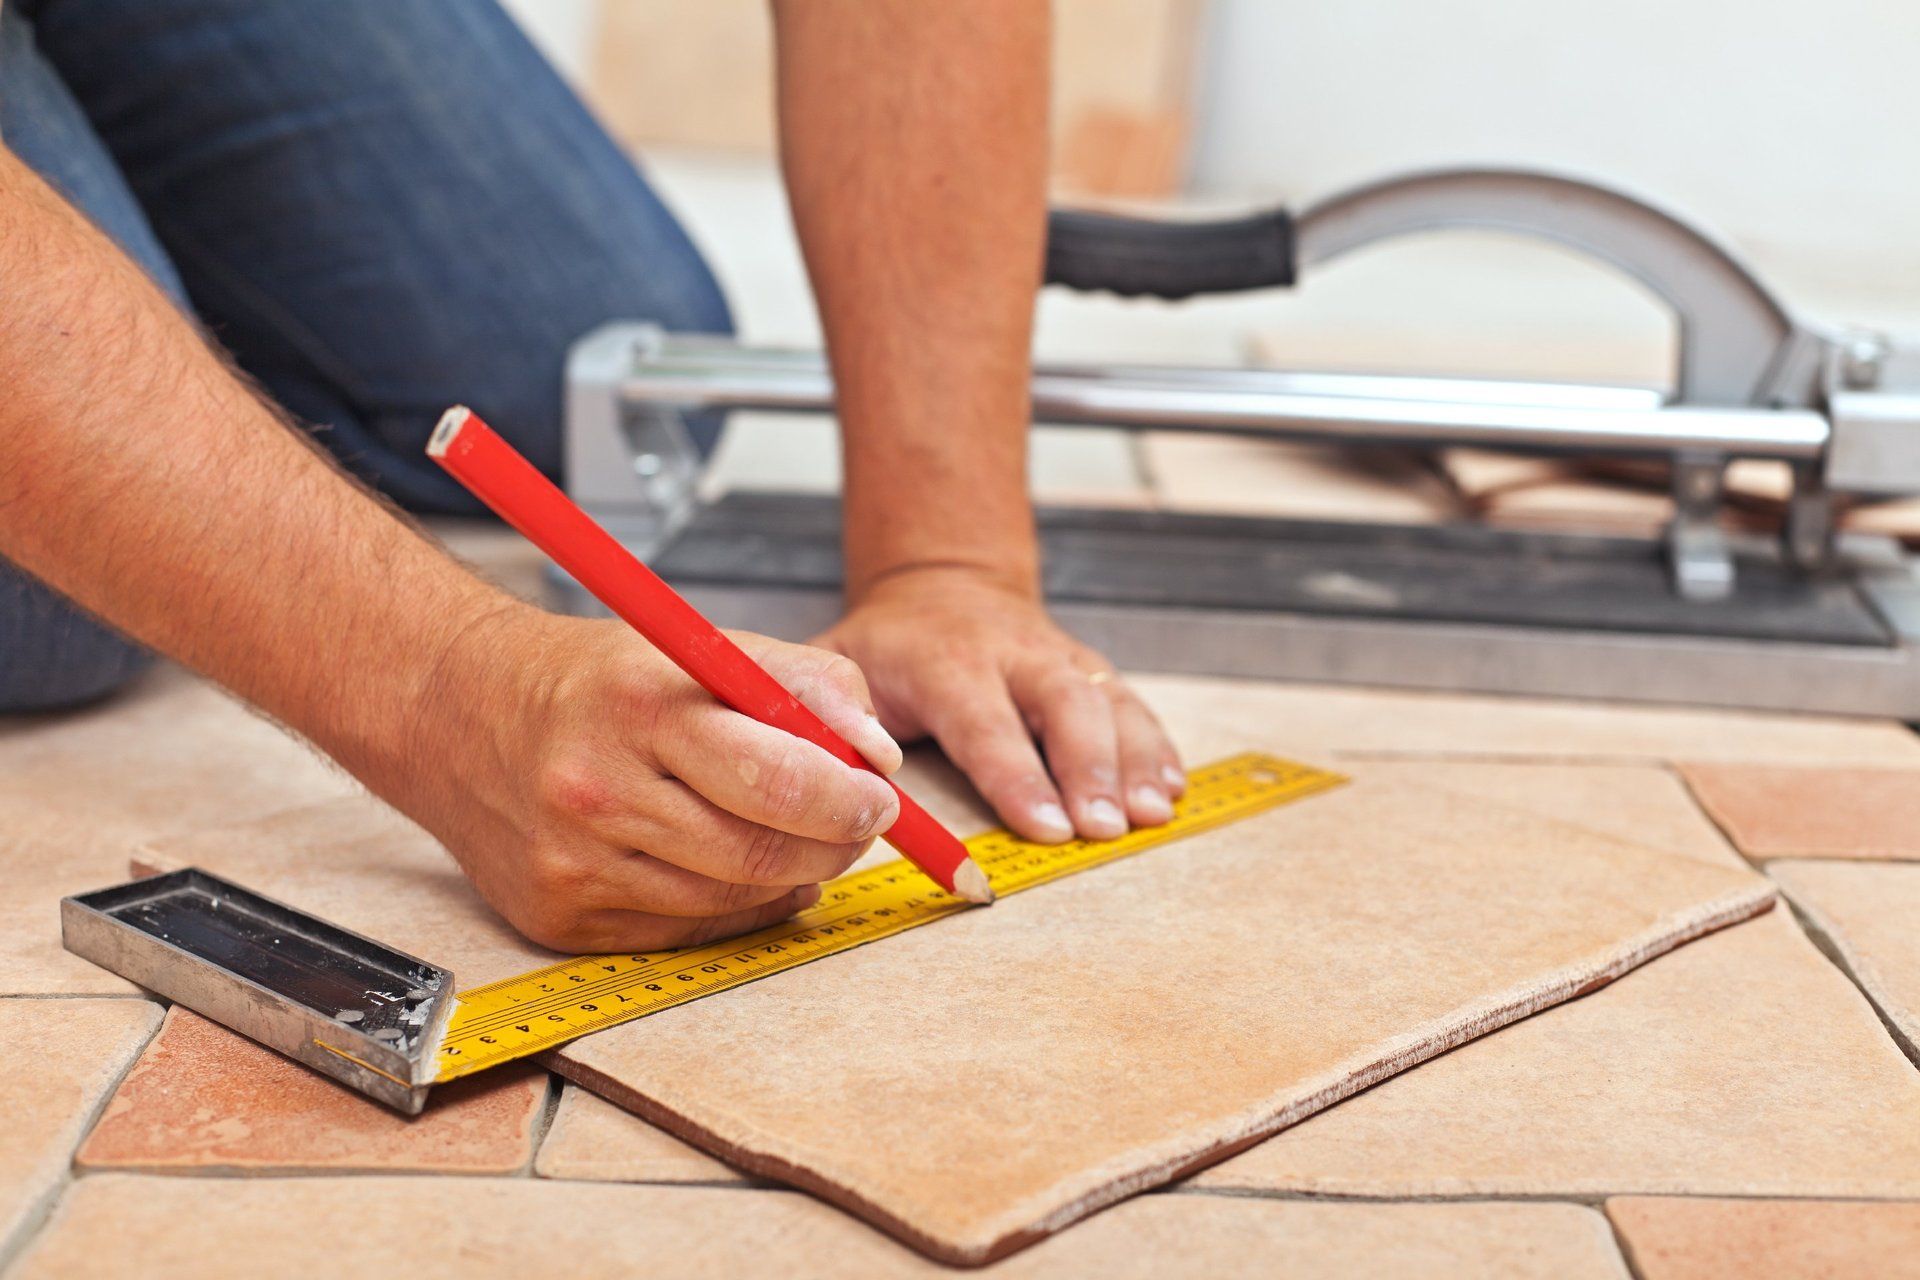
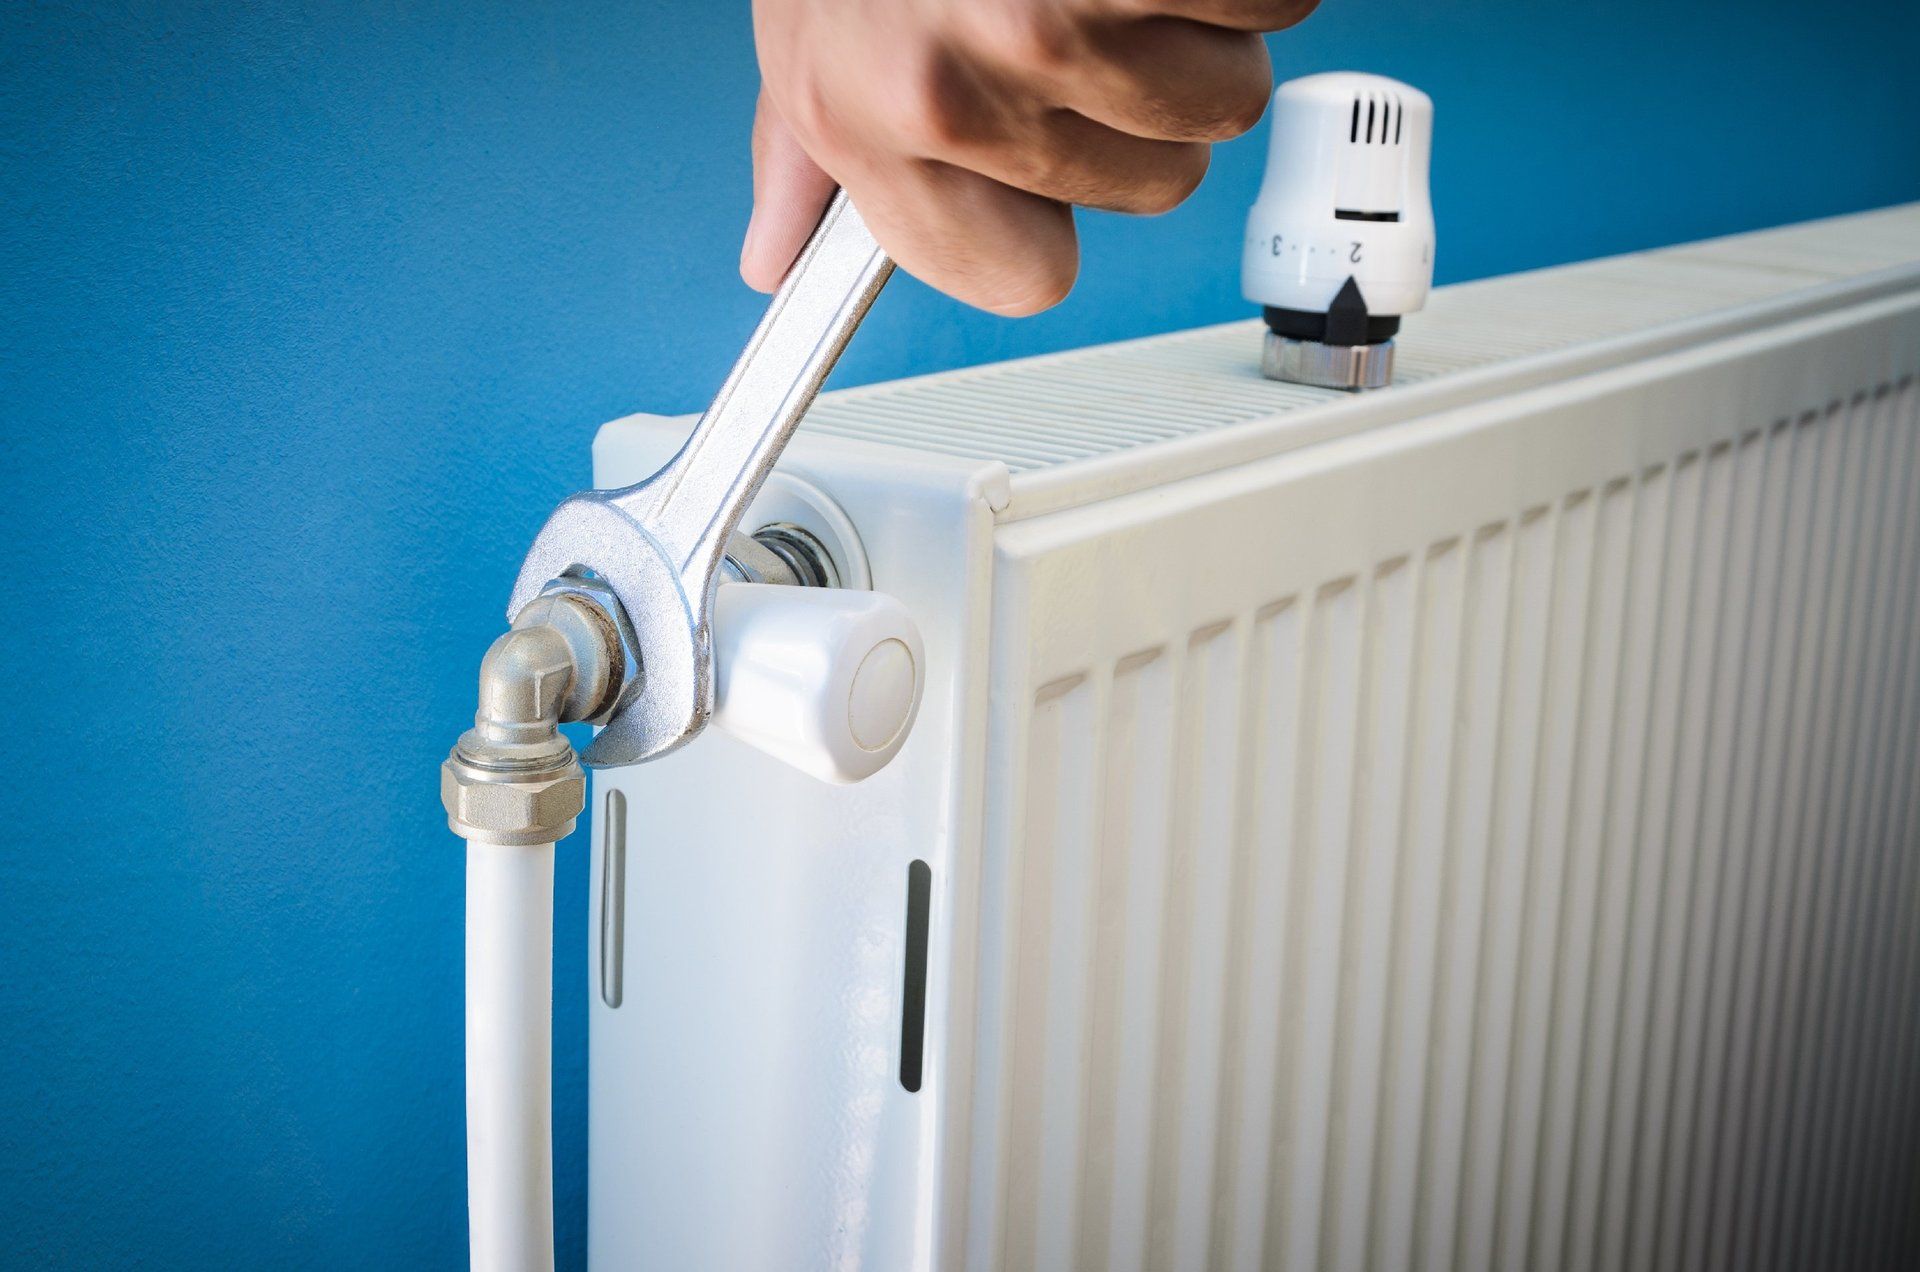
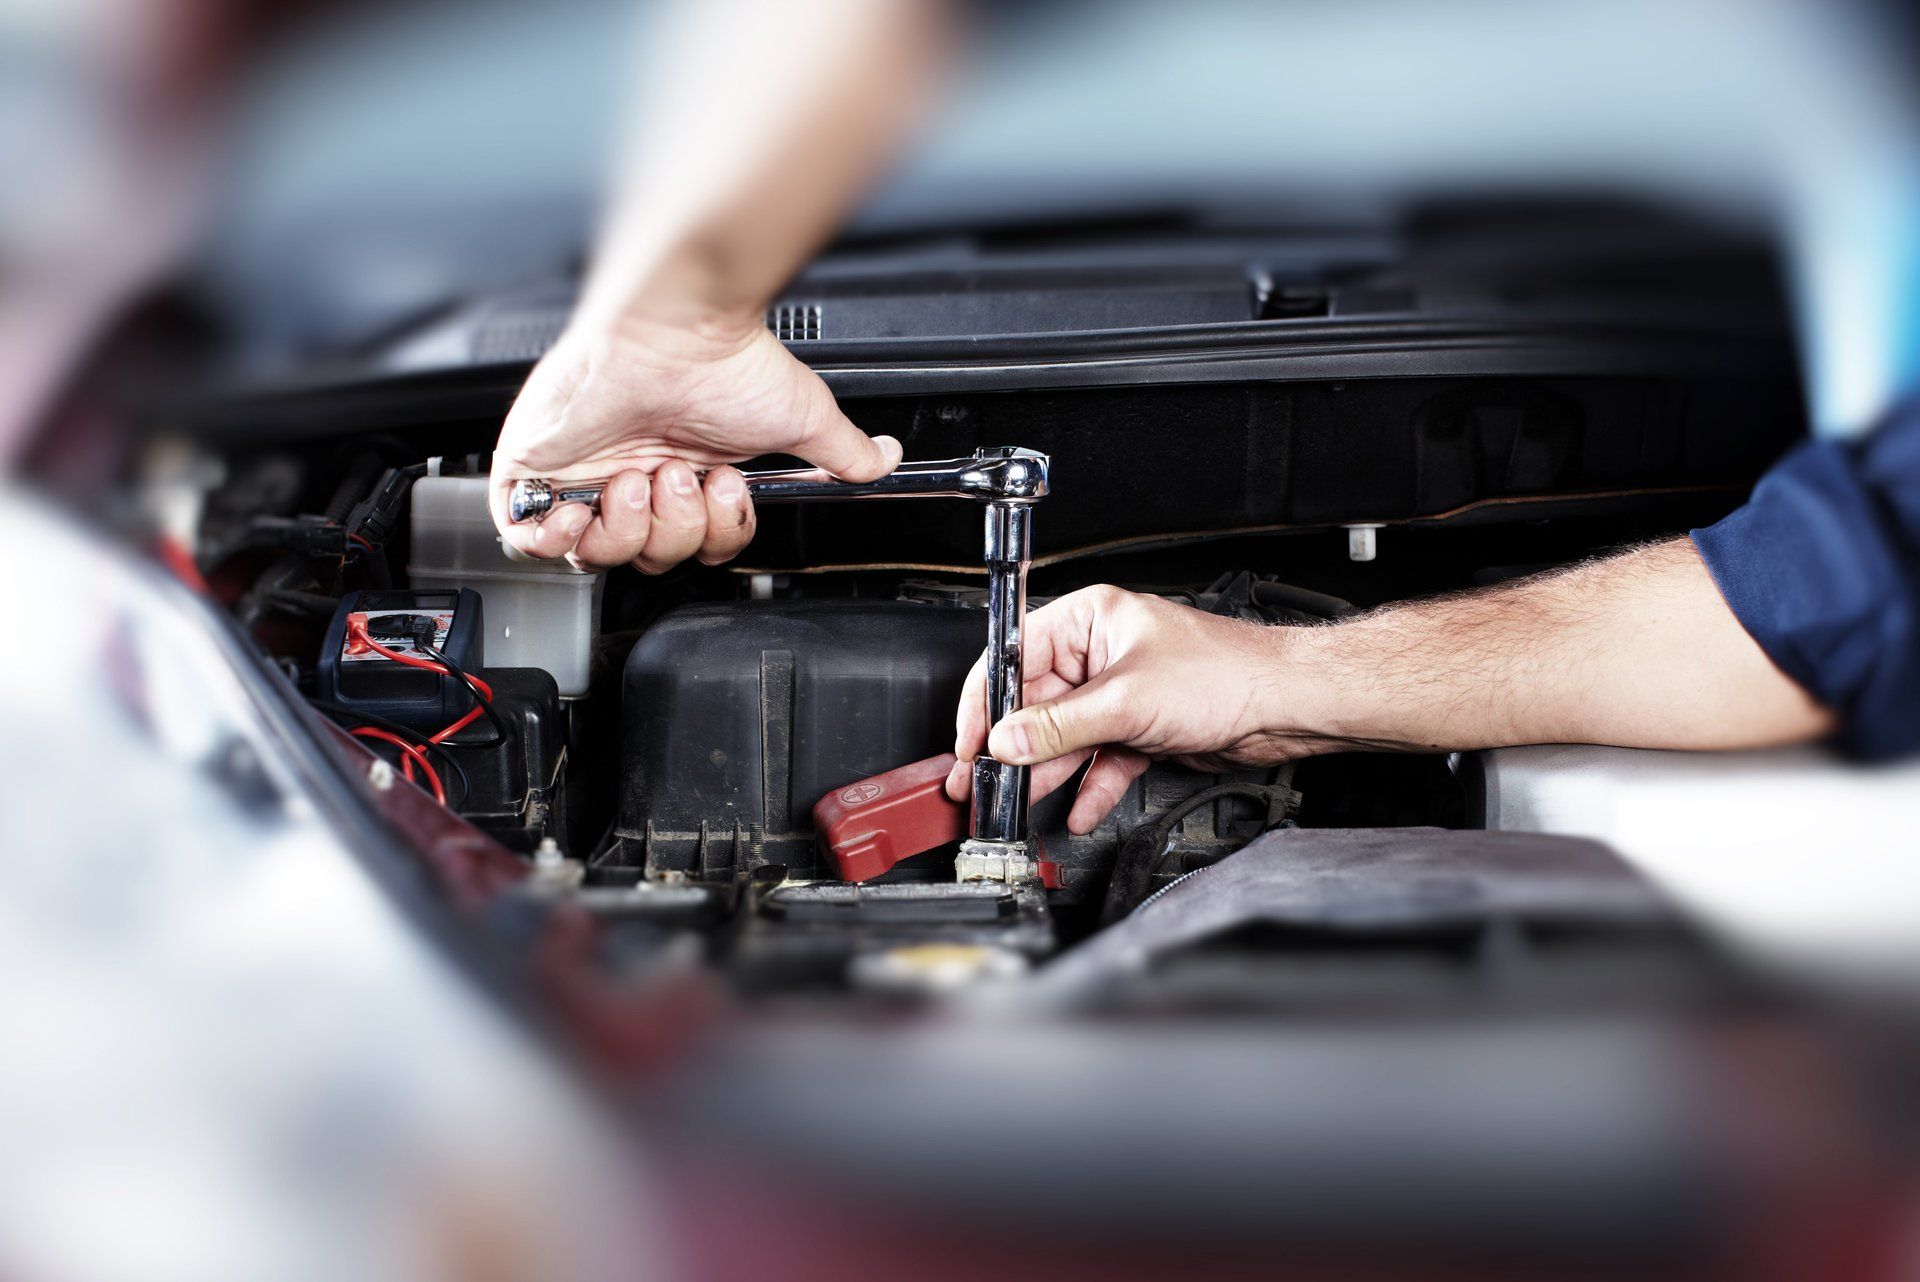
The images shown here are typical of the jobs that every household will have from time to time. They are helpful because they illustrate in each case the tools required to carry out the repair or replacement.
Tool Box, Tool Belt, Tool Station
No matter where you are with your tool collection part of preparation is having your tools in one place.
The tool belt shown above is about right for the keen DIYer, but a tool box will do the job very well.
It will always be there when you need it, and you will be able to take all your tools to the job wherever it is in the home.
Apart from the tools you buy, the tool box is the ideal place for all the screws, nails, wall plugs, scissors, insulating tape and a myriad of items that make up the household tool box, and, you will find it doesn't take long for it to come together.
Disclaimer: "The DIY repairs, methods, and advice provided on this website are for general informational purposes only. While we aim to provide accurate information, we make no representations or warranties of any kind, express or implied, about the completeness, accuracy, or reliability of the content.
Any action you take upon the information on this website is strictly at your own risk. We will not be liable for any losses or damages, including without limitation, personal injury, property damage, or consequential loss arising from the use of this website.
Safety Warning: DIY repairs can be hazardous. Always ensure you have the appropriate skills, tools, and safety equipment. For gas, electrical, or structural repairs, we highly recommend engaging a qualified professional. The information on this site does not constitute professional advice."
Coming Soon
A Smart Home Hub
Eco System
A Smart Home Hub is a proprietary point-to-point radio protocol that operates on a low-frequency network, specifically designed to provide a robust and reliable smart home experience. No need for Wi-Fi, stay connected no matter what. Seamless control indoors and outdoors with instant response. Pair up hundreds of devices.

Compare a healthy home and a eco-friendly energy saving home
Advice to achieve affordable toxic free living
Our illustration of a an energy efficient home highlights some of the options homeowners can take to create greater energy efficiency.
Many people in the UK live in good quality, healthy buildings but health hazards such as humidity, mould, bacteria, odours, plant spores, dust, allergens, fumes lurk in every room.
Now might be a good time to conduct a full audit of your property to reduce toxins and review affordable energy efficient alternatives
If you are stuck we may be able to assist to point you in the right direction
By email
admin@naturallysustainable.org
Contact Us
We have partnered with Tooled-Up to give you
access to all types of tools and equipment.
A family business, with more than 45 years in the tools and hardware business, its honest to goodness values are reflected on Trust Pilot with hundreds of satisfied comments


